
computer sleeve
DIY
ipad case
sewing
tutorials
iPad or Laptop Case/Sleeve || a tutorial ||
8:00 AM
A tutorial my friends :)

{I want to add this first- I just started sewing a few months ago, with the help of a lot of online tutorials and a few phone calls to my mom :) This is one of the first sewing tutorials that i've posted, so bear with me if it's kind of confusing. If you have any questions, don't hesitate to email me, or comment on this post!}
iPad Cover/Case
{you could also use this to make a phone case, a computer case,
or a Kindle/eReader case by changing the measurements}
First, you need 6 pieces of fabric.
2- Exterior pieces
(I traced my iPad, and added 3/4 inch to each side)
2- Interior Pieces
(Fleece, or flannel. I used flannel for my iPad, and fleece for my computer)
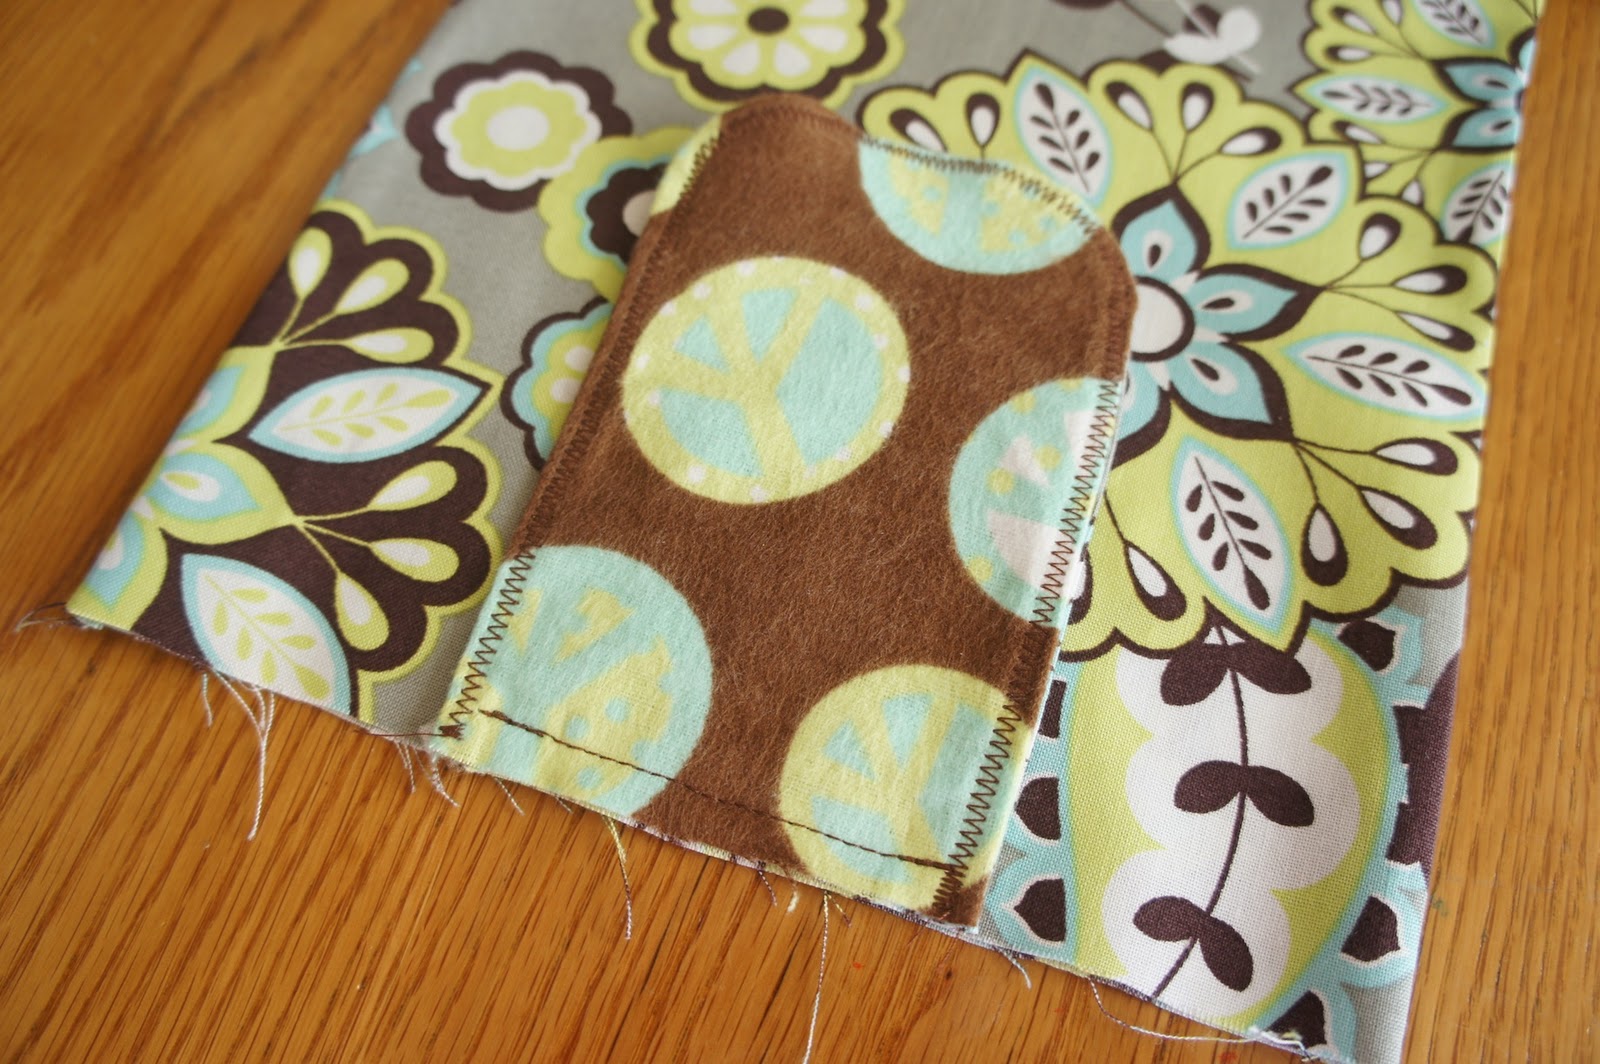
2- An interior and an exterior piece for the flap at the top. Just hand draw a flap stencil on a thick piece of paper, then trace it and cut it out of the fabrics. Mine for the iPad case was about 3.5x7 inches.

Next, pin the two flap pieces together, right sides facing each other.
Sew them together about 1/4 of an inch in from the raw edge.


Turn the flap right sides out and iron.

Sew around the two long edges and the curve and the top of the flap. I used a zig-zag stitch for looks, but you could use a straight stitch as well.


Next, pin the two exterior pieces right sides facing each other. Just pin the two long sides and one of the short sides.


Sew the three sides you pinned about 1/2 inch from the raw edge.


I used pinking sheers and cut around the edges as close to the seam as I could to reduce the bulk once I turn the fabric right side out.

Turn fabric right side out and iron.

Next, pin the flap with the interior fabric facing out, to the back of the cover.
Sew to the back to keep in place.
Set the exterior fabric aside.
Pin the interior fabric right sides facing each other. Just pin the two long sides and one short side.
Sew around the edges, about a 1/2 inch in, but in the middle of the short side, leave a 4 inch gap. Refer to the two pictures below the following one.


Cut around the raw edges with pinking sheers to reduce bulk.

Leave the interior fabric wrong side out, and turn the exterior fabric right side out. Put the exterior fabric inside of the interior fabric and line up the raw edges at the top.

Sew the exterior and interior fabric edges together all the way around the top edge.


Pull the exterior fabric out of the hole that you left in the bottom of the interior fabric.


Take the open seam at the bottom of the interior fabric and fold it under. Sew it together. (I did this on my machine because you can't see the seam once it's inside of the case. If you really want to, you can hand sew an invisible stitch).


Pull the interior fabric inside the exterior fabric.

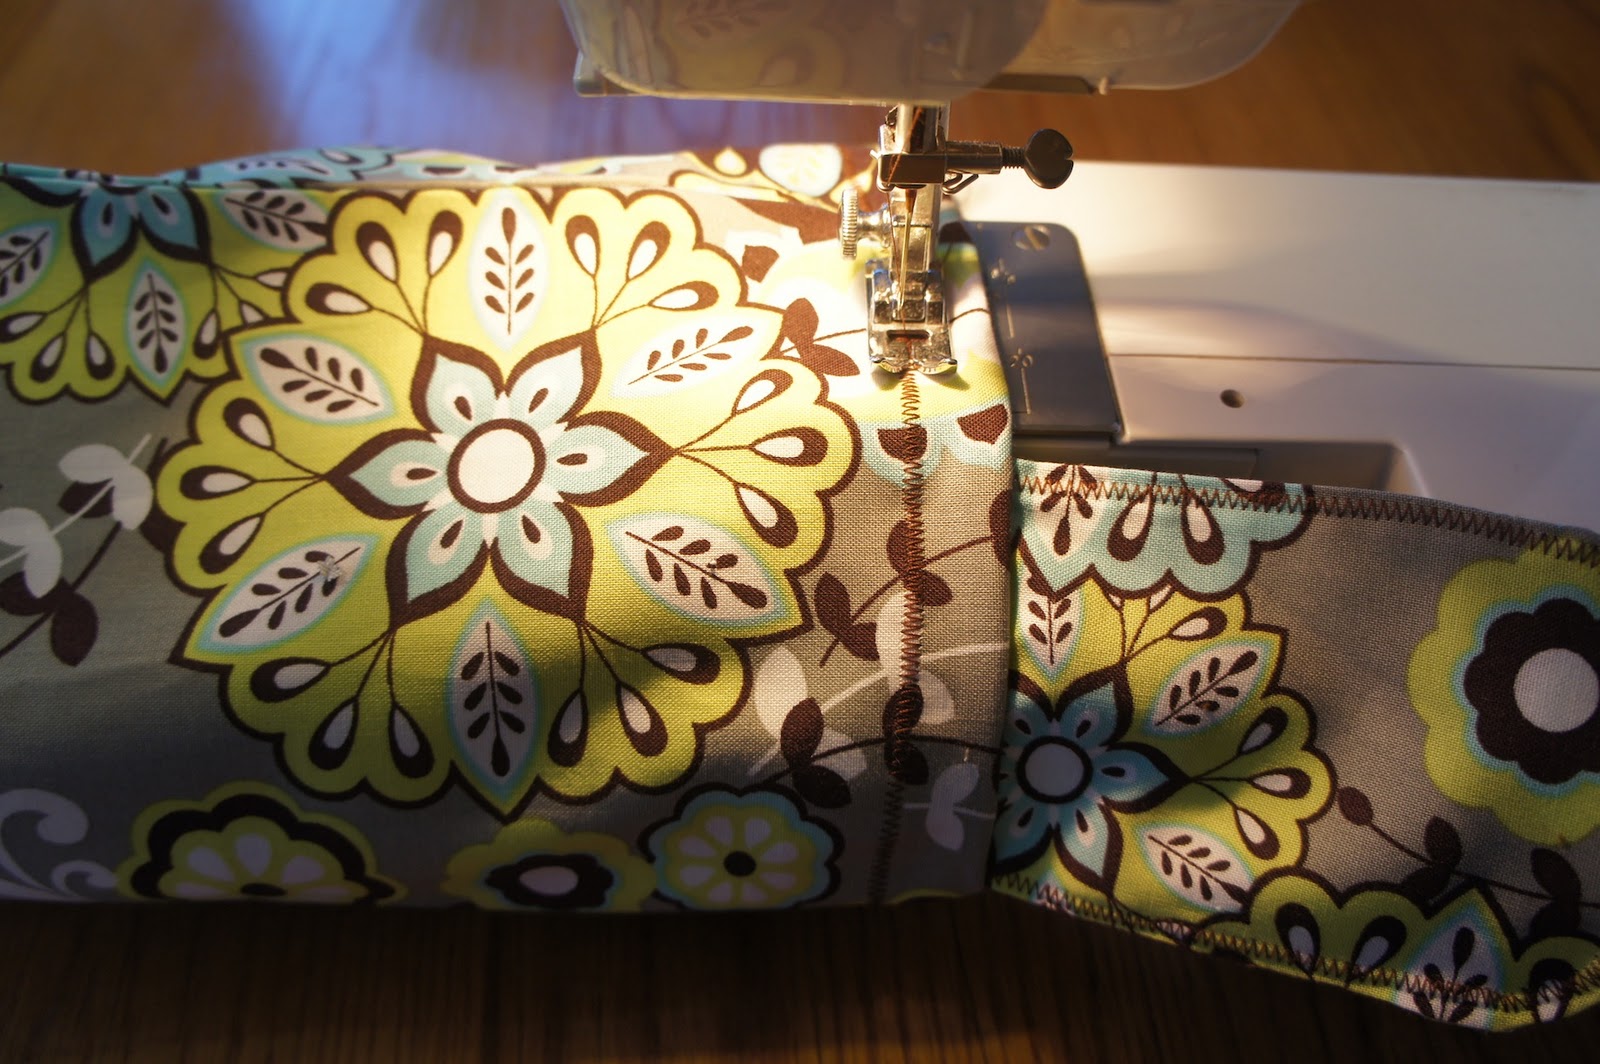
Sew about 3/4 inch down all the way around the top seam. I used a zig-zag stitch.
Hand sew snaps onto the inside of the flap and the outside of the case.

Ta da!


3 comments
This looks easiest enough for me to try. I just bought everything to make inserts for our cloth diapers... seemed like simple enough of a project for a beginner! I guess we'll find out! ;)
ReplyDeleteYay! That's the first thing I sewed too! :) You can do it!!!
ReplyDeleteThis is soo cute! Add this to the list of reasons I should get an iPad :P
ReplyDelete